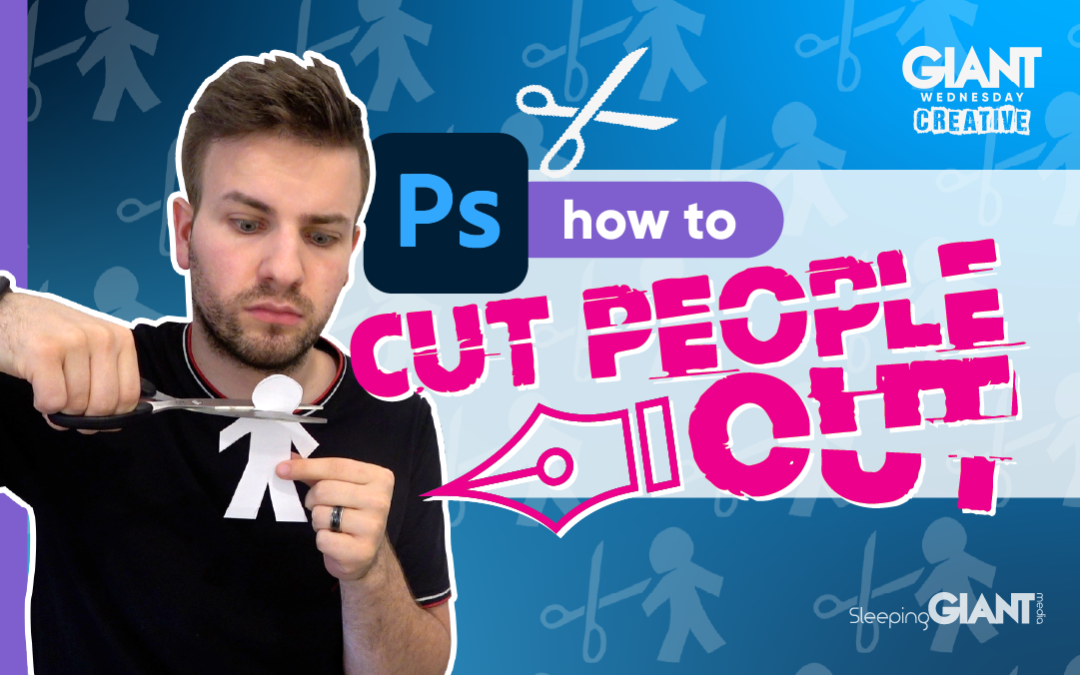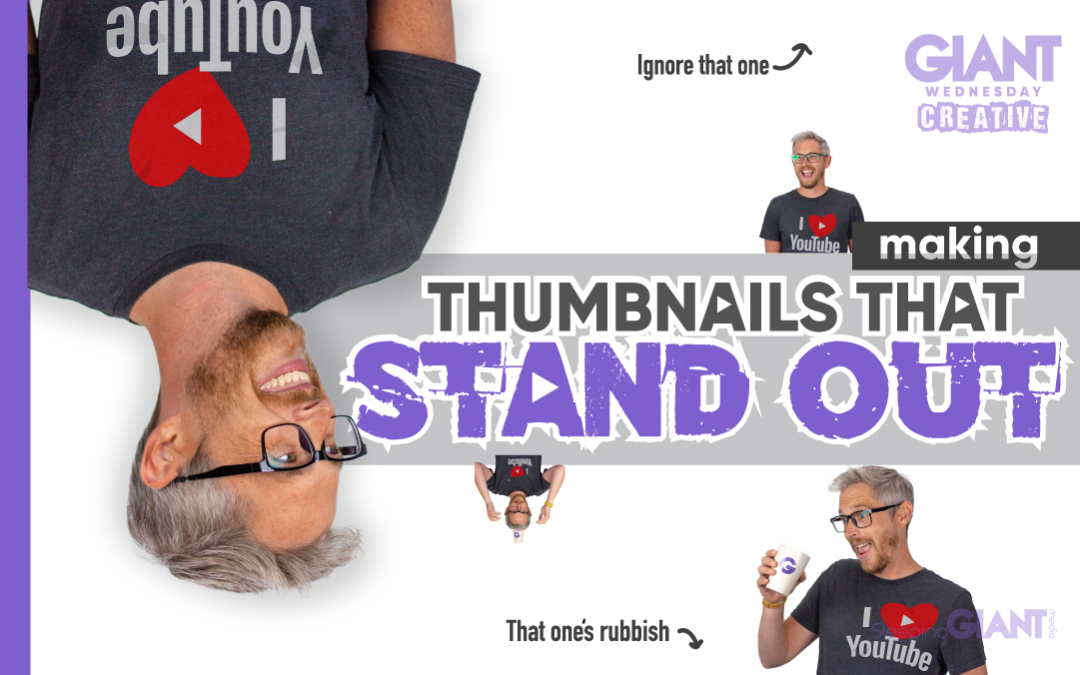
How To Make Thumbnails For YouTube That People Will Click
How To Make Thumbnails For YouTube That People Will Click
How To Make Thumbnails For YouTube That People Will Click
Digital Marketing, technology & business insights, how to’s and explainer videos, released on a Wednesday. Make sure to subscribe to be notified and sign up to our mailing list! 🎥
See below, the transcript from this episode of Giant Wednesday if videos aren’t your preferred method to consume digital skills. See also the Giant Cheat Sheet from this episode.
If you want to know more, get in touch today 😎
Hello and welcome to Giant Wednesday.
My name is Danny from Sleeping Giant Media and I’m here today to teach you how to make thumbnails for Youtube that people will click!
To do that, I’m going to show you how we make ours, and how you can use my advice to make your own.
So, without further ado…
Firstly, It’s important to understand the role of a thumbnail.
A thumbnail is a claw-like, keratinous plate at the tip of your… ahhh just kidding, checking you’re still with me.
A thumbnail is, in most cases, the first visual impact you can make on a potential viewers video-watching experience.
It’s one of the deciding factors when on your channel, or on a search results page, as to whether that user will choose your video to watch out of the thousands of others available.
For this very reason, the thumbnail of a YouTube video is considered a “user experience metric”.
This is just one of many metrics that will help determine the success of your video content, helping boost its organic presence so its seen more and more by the people you want it to be seen by.
In the world of video, especially YouTube, it really is the case that people judge a book by its… thumbnail.
There are other contributing factors too, of course, like the video title and description, but this is Giant Wednesday creative… so let’s look at the visual creative.
The first thing you’re going to want to do is to make sure your thumbnail is fully representative of the content of your video.
If your video is about iPhones, don’t use a photo of an Android phone. If it’s about goats, don’t centre your thumbnail around parrots… you get me
For us, and our Giant Wednesday series, our videos are about digital marketing and digital skills. These aren’t always the easiest things to represent in imagery and static form, so we get to put more focus into the other elements.
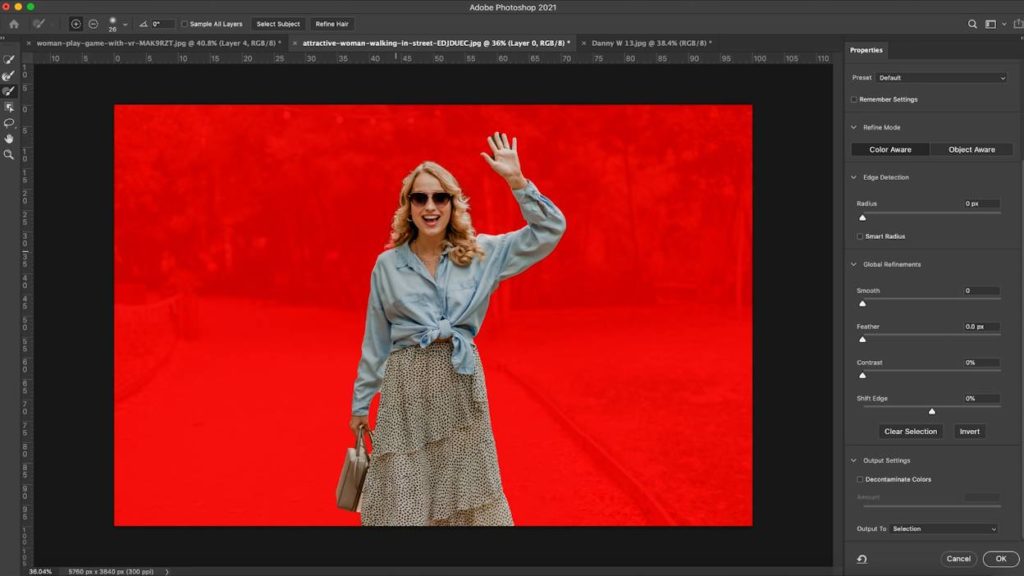
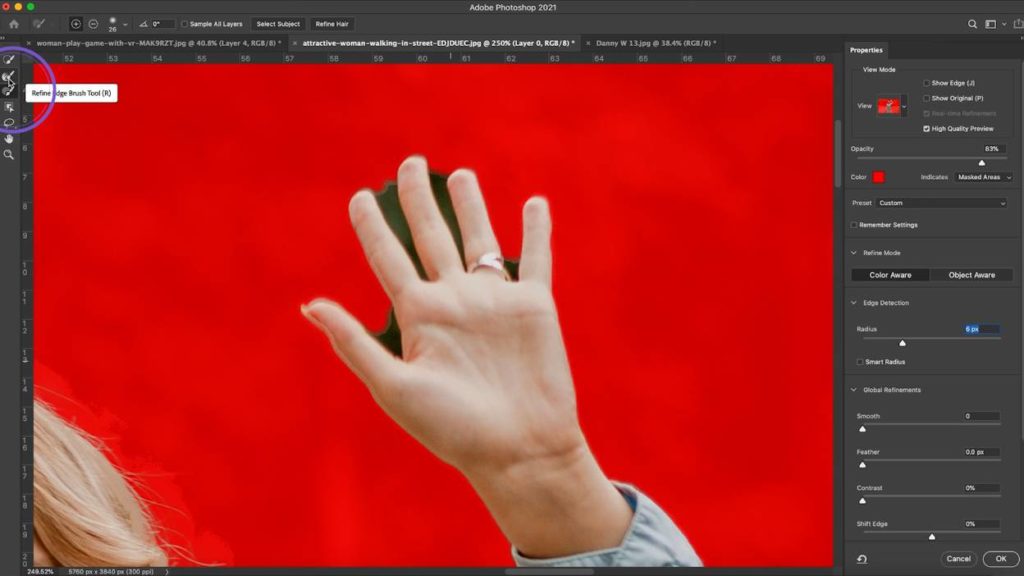
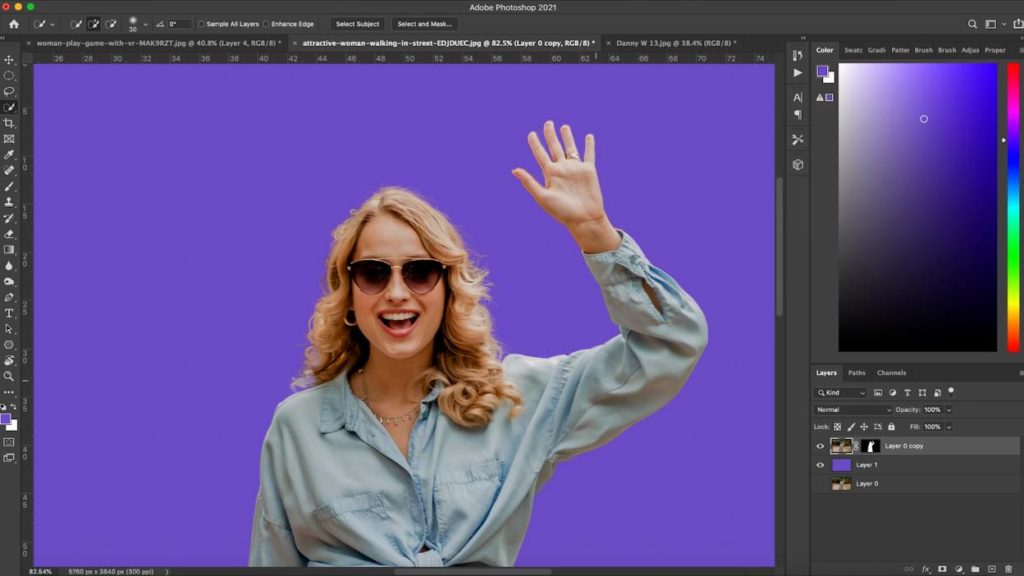
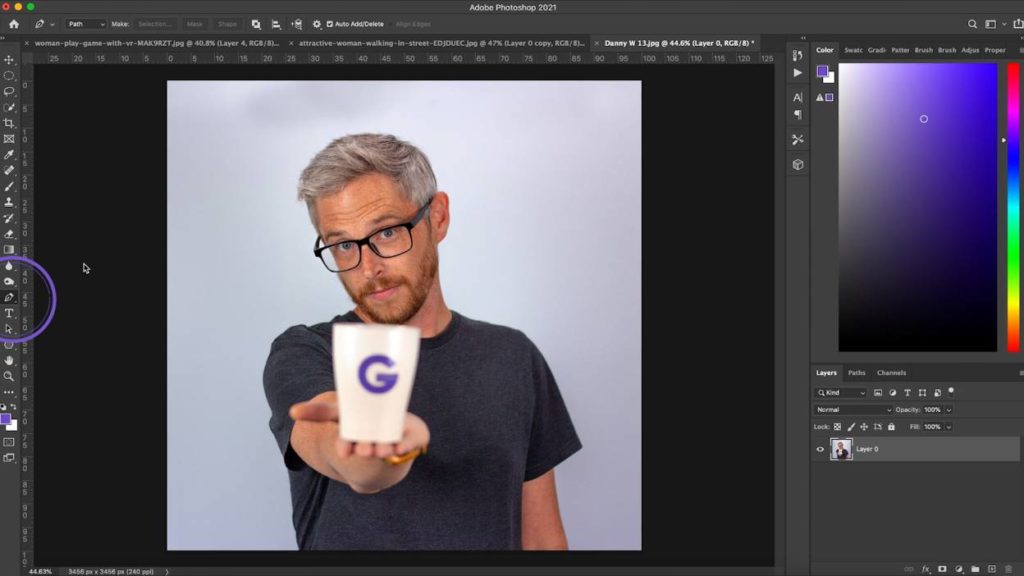
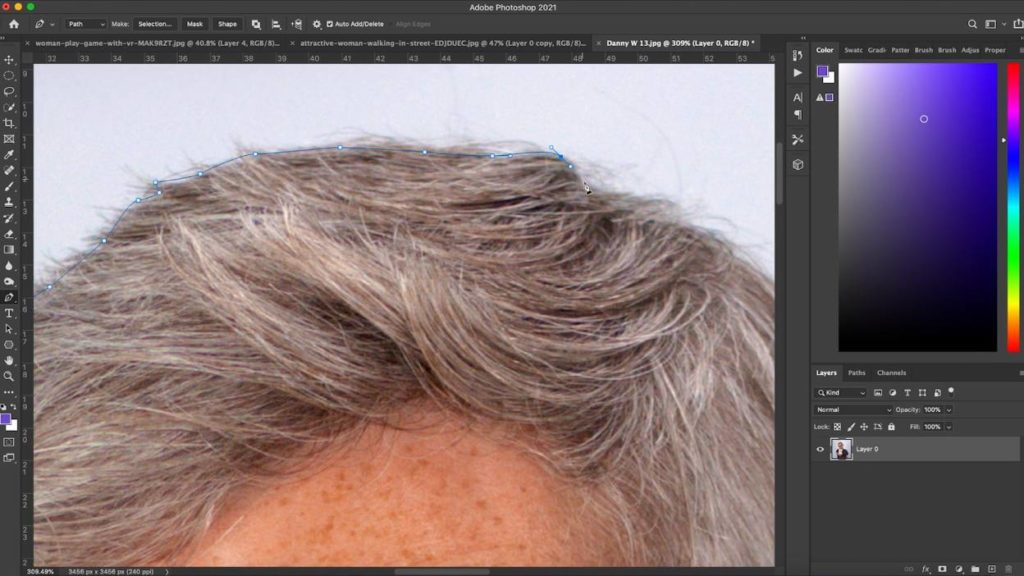
But what we can represent is our people, our presenters, the people bringing you the video. So the first part of our thumbnail process, as well as many other creators and perhaps even yours, is to cut them out!
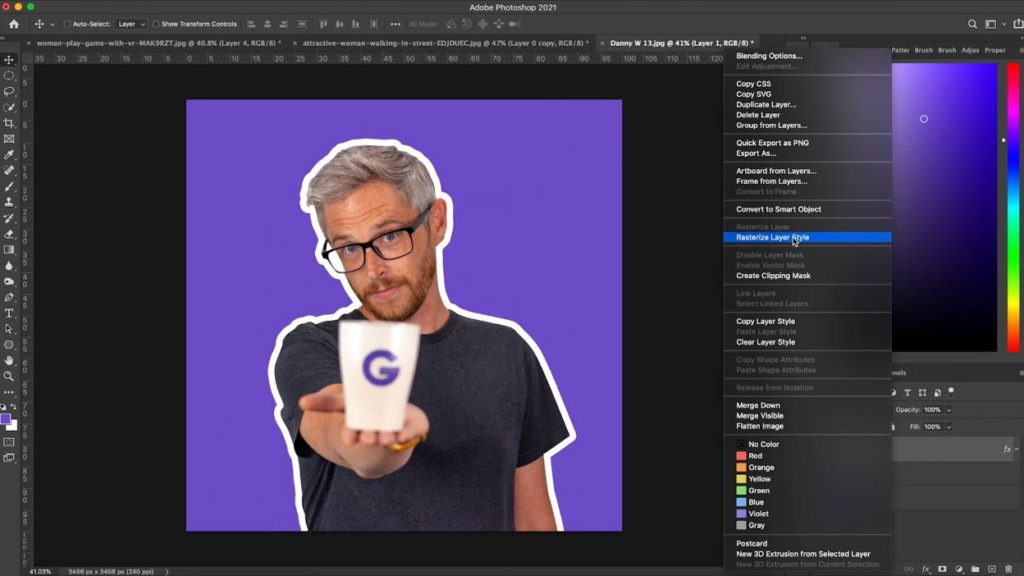
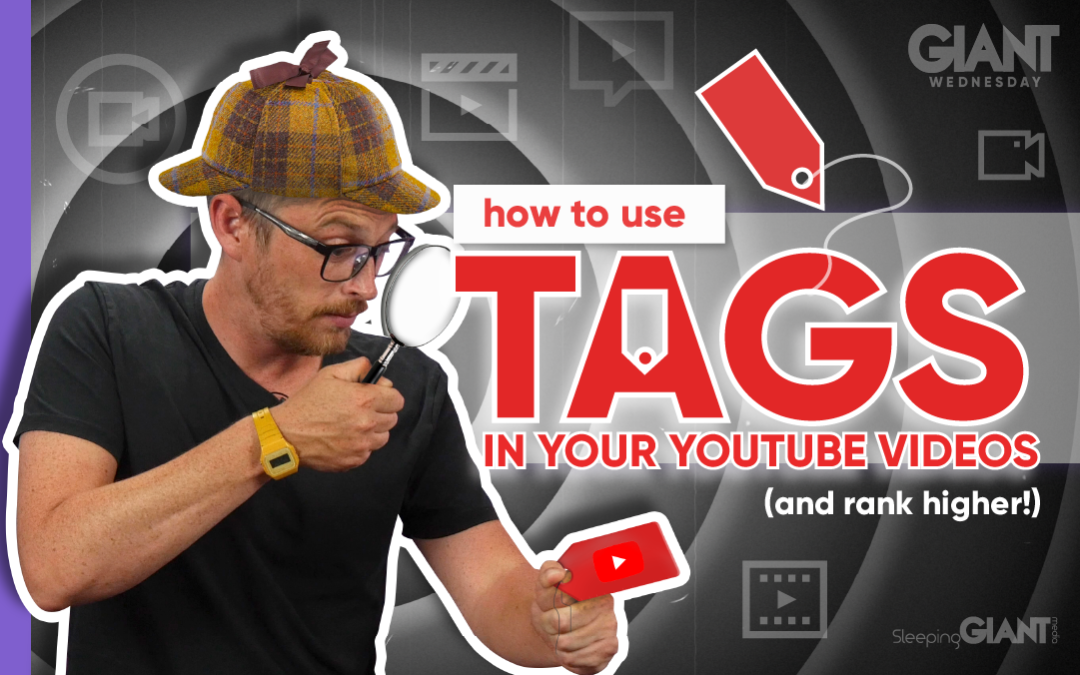
That classic cutout of the presenter, then with a white stroke behind them to really make them ‘pop’.
Not sure how to cut them out? We’ve got a tutorial on that!
We’ll get our presenters to pose separately for this, minimising the chance of a blurred or interesting look on their face.
And where possible, we use their pose to add some context to the content of the video.
If your videos are about a certain product, then perhaps you should replace where we might put the person as the place to put your product, giving it the spotlight.
The next thing you’re going to want to do is to let people know what they’re getting by using some text!
You don’t have a limit here, but you do need to consider that your thumbnail will be different sizes on different devices and therefore less is more, and bigger is better.
When designing our thumbnails, we use roughly two-thirds of the space to textually explain the context of our video. It’s also worth noting, we use Adobe Illustrator to create our thumbnails, but there’s plenty of free tools you can use too.
We use clear fonts, and keep consistency in some elements of our font palette to remain branded and to show it’s a series of content.
Now, another way of standing out from the rest is to use some bright colours which sound super cliche.
You’re going to want your background colour or image to contrast against the text you choose to make it really stand out.
Supposedly the colour yellow in your thumbnail will help you get more clicks? Little unconfirmed fact for you there.
But the best thing you can do is take a look at what your competitors are doing, what do their thumbnails look like and how can you make yours different and better?
We use bright colours and textures to give more context to our videos through the thumbnail as you can see.
Which is also helpful as, like I said, our topics aren’t always easy to illustrate with a photo.
But it’s super important to make sure it’s not over-crowded and there’s not too much going on…
And already, look at this, we have a thumbnail that isn’t just a random screen capture pre-selected by YouTube itself, and is actually, unsurprisingly… clickable amongst others with similar titles!
Now other elements you can add into your thumbnail include things like recognisable brand elements if you’re a business… say, your logo!
If you’re not a business and just a separate creator, then that’s up to you, but try and establish yourself a unique style.
If you’ve got a channel full of different types of content like we do, then you can differentiate this content for your subscribers by using consistency in your thumbs. Try and make a template for yourself, or stick to a style.
And if you haven’t got access to the tools I do, like the Adobe Suite then that’s fine, everything I had to say is still relevant but you can look at using tools like Canva.
Canva is a free web-based designing tool that actually has a whole host of templated youtube thumbnails you can build upon and make your own.
Just remember to make it unique to you and your content.
And that’s how to make a thumbnail on YouTube that people will click.
Make it stand out, make it identifiable, make sure it doesn’t mislead and make sure you’re thinking of the viewer first and foremost.
People will want to click on the thumbnails they want to click on, you can’t decide that for them, but you can do a good job at persuading them to click yours!
A final piece of advice, from Google and YouTube themselves, is to think of the thumbnail before you start shooting your video!
If you liked what I had to say in this video, or learned something new, then please give the video a thumbs up and hit subscribe!
If you’ve got any questions, pop them in the comments below, but otherwise, I’ll look forward to seeing you again sometime for another Giant Wednesday Creative.
Sign Up For Giant Wednesday In Your Inbox
Use the form below to sign up and we'll send you fortnightly update emails when a new episode of Giant Wednesday is launched.
Want results like these?
So, you’ve seen how we do it — and you know what we’re capable of. If your brand or business could benefit from results like these, get in touch with us today to unleash your potential.
Follow Us
Sign Up For More
Stay up to date with the latest happenings, learnings, events & more with our GIANT Newsletters.
Contact Us
Top Floor, The Civic Centre, Castle Hill Avenue, Folkestone CT20 2QY.
Copyright © 2022 Sleeping Giant Media. All Rights Reserved.