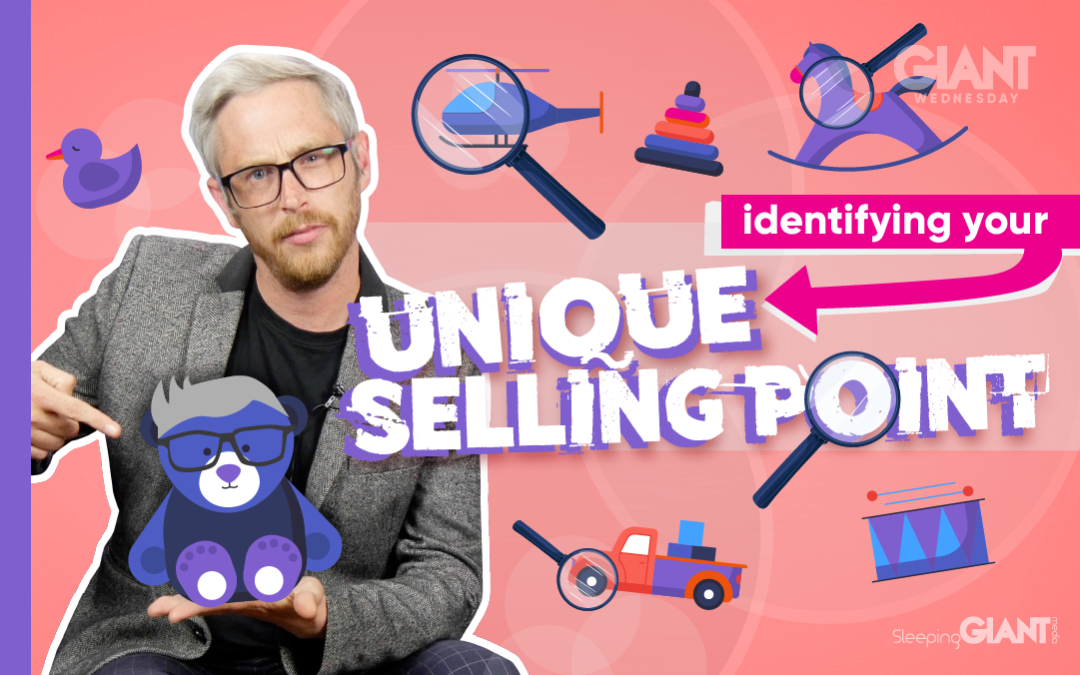
Identifying Your USP And Standing Out From Competitors Online
Identifying Your USP And Standing Out From Competitors Online
Identifying Your USP And Standing Out From Competitors Online
Digital Marketing, technology & business insights, how to’s and explainer videos, released on a Wednesday. Make sure to subscribe to be notified and sign up to our mailing list! 🎥
See below, the transcript from this episode of Giant Wednesday if videos aren’t your preferred method to consume digital skills. See also the Giant Cheat Sheet from this episode.
If you want to know more, get in touch today 😎
Standing out is something none of us wanted to really do in school… but all want to do in business.
With so many businesses out there, there’s bound to be a need to stand out, even from those that don’t offer the same products or services you do.
And this is even more important when it comes to online.
So hey, I’m Danny, I’m going to explore how we identify what makes a business stand out online in this week’s Giant Wednesday.
It’s no longer the case that you need to ready yourself to stand out online, it is the case, full stop.
Pretty much all businesses are online in one form or another these days, and standing out is a matter of survival.
It’s also something you’re going to need to put continued, evolved efforts into as the world of business, digital and… well, the state of the world evolves around us.
Identifying how you can stand out from the competition means you need to be checking out what your competitors and surrounding companies are doing.
So let’s start with a question: what makes you stand out?
I don’t mean you personally, I mean your business.
Imagine you’ve got a shop, you sell children’s toys. What would make your brand different from others?
Maybe your storefront is really brightly painted, with a snazzy window display and someone demonstrating the toys you sell outside on the street.
I’m pretty sure that would grab some attention as people walk by!
Well, the same is true in digital and when we identify what makes us different from the competition online, we call that our unique selling point or USP.
This can be clear, to the point statement that describes the benefits you offer as a business, how you might solve your customer needs and what distinguishes you from the competition.
For example, you might only sell environmentally friendly toys, all recycled, all uni-sex and hand made in the local area.
That’s definitely a USP and something you can use to your advantage when marketing and standing out online.
To help you define your USP, ask yourself these questions
- Who is my target audience?
- Who are my competitors?
- What problems do my audience have?
- How can I solve them?
Ask yourself these questions, note down your answers and you’ll be able to string together a concise statement that becomes your USP.
For example, as the toy business, your target audience is probably parents or people with children in their lives.
Your competitors are likely other toy shops or some big brand companies that sell toys at lower prices.
Your target audience are probably looking for ethical, sustainable and hardwearing toys that will last a long time and come from a business they can trust.
And you can provide that with your locally made, environmentally friendly products and a trusting online presence.
So your USP would be that you provide hard-wearing, long-lasting, sustainably and locally made children toys with a customer service guarantee.
Your USP should be something you display on your website, your social media and other marketing materials, as if it becomes your tag line!
Letting potential customers know from the get-go what makes you different from the competition.
These ways of thinking will help you address your own unique selling points, but also help you understand those of your competitors – really helping give you an advantage in standing out.
Once you’ve worked out your USP, the next step is seeing new potential avenues to stand out from competitors online
So why don’t you look at things like:
- Whether they have a social media presence
- Where they appear in search engine results for relating search terms
- Whether they’re running adverts on social media
- What kind of content they’re posting
- Whether people are talking about them online
All of this is useful information to help inform your own online and marketing activity and all topics we cover in other episodes of Giant Wednesday so check them out.
An optimised, present and active online presence will only do you favours!
In an always-on, fast-growing world, standing out by knowing your unique offering, being where your competitors are and aren’t, and tailoring everything you do to customer needs and pain points will stand you out.
Sign Up For Giant Wednesday In Your Inbox
Use the form below to sign up and we'll send you fortnightly update emails when a new episode of Giant Wednesday is launched.
Want results like these?
So, you’ve seen how we do it — and you know what we’re capable of. If your brand or business could benefit from results like these, get in touch with us today to unleash your potential.
Follow Us
Sign Up For More
Stay up to date with the latest happenings, learnings, events & more with our GIANT Newsletters.
Contact Us
Top Floor, The Civic Centre, Castle Hill Avenue, Folkestone CT20 2QY.
Copyright © 2022 Sleeping Giant Media. All Rights Reserved.