How To Optimise Images For Your Website
Digital Marketing, technology & business insights, how-to’s and explainer videos, released on a Wednesday. Make sure to subscribe to be notified and sign up for our mailing list! 🎥
See below, the transcript from this episode of Giant Wednesday if videos aren’t your preferred method to consume digital skills.
If you want to know more, get in touch today 😎
Having trouble with your site speed? You know a pretty common cause for this is having images that are waaay too big on your site.
Yes, it’s amazing that you have a 6K photograph slider of your product on your homepage, but if it takes 20 minutes to load, no one will be around to see it.
So what can be done? Well, I’m Alex, and today we’re going to be talking about optimising images for your website in this episode of Giant Wednesday.
So let’s start before you’ve even picked up the camera.
Use the Right Image
Before we even mention file size, format, or anything like that – it’s important for your SEO that your images themselves are the best they can be.
It can have more of an effect on your SEO than you might think!
A good image for your site will be relevant to your page, emphasising your key point and enhancing your user experience.
If you can, try to use your own photos, because I promise you – people can spot Stock Images from a mile away, and they don’t like it!
And that’s not just me saying that in fact, a debt company saw a 35% increase in sign-ups when they replaced a stock image on their homepage with a photo of their founder.
So, if there’s that too good to be a true photo of a team of young beautiful looking people laughing over a spreadsheet on your page, take this as a message to change it to something a bit more authentic.
Okay so now you have the right picture, let’s talk about…
Use the right File Dimensions
Now that you have your photograph, image or even graphic, don’t just go uploading that straight into your site, you’ll need the image to be the right dimensions.
There’s no one-size-fits-all approach (get it) to image dimensions for your site, as it depends on your page design and layout.
Here are a few tips on the right things to do:
-
Make sure your website design is responsive
If it’s not already – you’ll really want to take care of this quick. This just means that the design of your website changes automatically to fit the user’s screen, be it a mobile phone or tablet, including your images.
If you’re using WordPress, all images that you upload are responsive by default!
-
Don’t Exceed 2560 pixels wide
2560 pixels is the standard resolution width for 27″ and 30″ monitors, so there will never be any real reason to exceed this dimension.
You can make the image size whatever height works for your site design, but remember that bigger dimensions normally mean they’ll take up more space.
But how do get small file-size images on your site without sacrificing quality and having a pixelated mess? Let’s talk about the next part:
Reduce your File Size
File compression is key to having high-quality images on your site that don’t take up Gigabytes of space.
You can use tools like Google’s PageSpeed Insights tool to check out the files and images on your webpage that are the heaviest and then look at reducing these file sizes to improve page speed.
If you’re using WordPress for your site, there are some awesome plugins such as Resize Image after Upload and Imsanity which automatically resize your large image uploads. Pretty handy right?
But sometimes the prevention is better than the cure, so let’s walk through the steps for compressing your images for the best quality,
There are loads of free tools you can use to resize your images before you upload.
These include TinyPNG, Optimizilla, or the free version of Kraken.
These sites reduce your image’s file size with only a negligible effect on the quality of your images.
You’ll want to aim to compress your images to around 100 KB, or under 200 KB for full-width images, so have a play around with those tools and find the right balance between quality and size.
Of course, you’ll be able to get away with a few medium-sized images if that is absolutely necessary, but there’s no reason to have a large file sitting on your site and clog up your load time if you can do something about it.
If you’re using Photoshop, you can do this yourself. You can resize your image with Image > Resize, or alternatively, you can create a new document with your required dimensions and drop your image into that.
You’ll then want to click File > Save for Web [Legacy] where you can play around with the compression options, whilst seeing a preview of what the image looks like, and the file size in the bottom left corner.
We’re racing through these so let’s check out our penultimate point
Name your Images
So you’ve found the right file dimensions and size that work for you – now don’t get ahead of yourself and save an image like this as:
employeephoto1.jpg
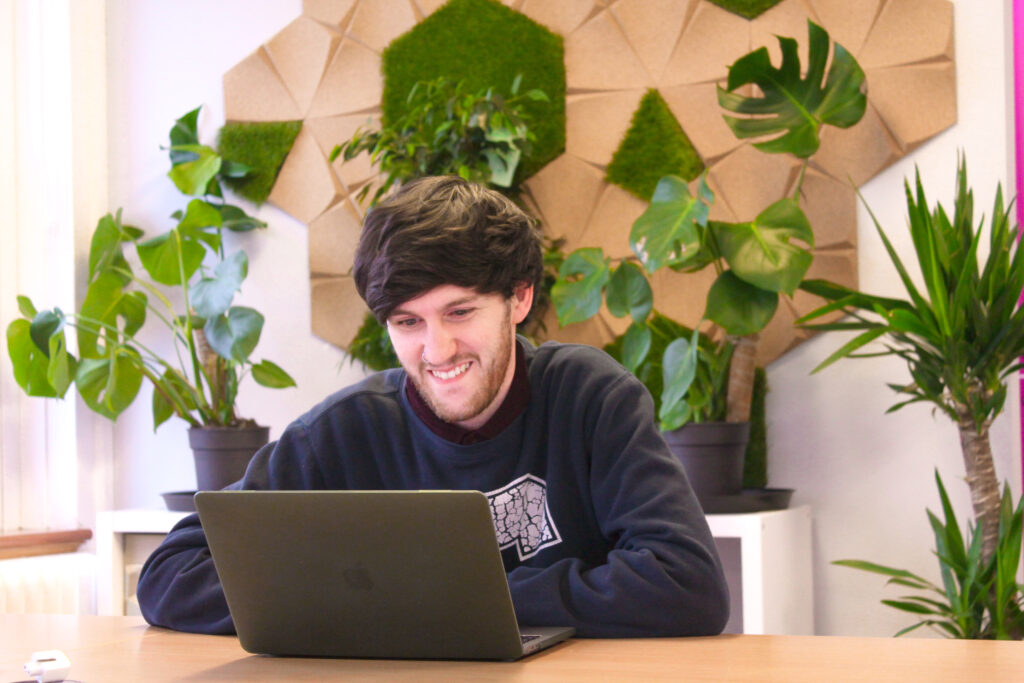
Instead, use descriptive keywords separated by hyphens, such as man-smiling-with-computer-and-plants.jpg
Another good tip is to optimise your Image Alt Tags.
These help web crawlers figure out what your images are about, and they’re also used by screen readers to describe the image to visually impaired users.
Describe your images well without overstuffing keywords. A good best practice is to think of how you would describe the image to someone who can’t see it.
Using Correct Image Extensions
If you don’t know your PNGs from your JPEGs, this step could leave you stumped.
When in doubt, you should always choose the JPEG file format for your images. These are light in file size and easy to compress.
If you’re after images with transparent backgrounds, you should use the PNG format.
For logos and icons, use the SVG format. These take up minimal space and can be resized as needed on your site.
You will need Adobe Illustrator to create and save logos into an SVG file format or use an online SVG converter, but be wary that results will vary drastically!
If you want more information on how to make logos, let us know in the comments section, and we’ll see what we can do!
With all of these, just make sure you’re watching the file size, making sure not to exceed the size we outlined in our previous step.
So there you have it – that should be everything you need to give your website a long-overdue diet. So the next time your site steps on the scales, it’ll be the biggest loser (in a good way).
Sign Up For Giant Wednesday In Your Inbox
Use the form below to sign up and we'll send you fortnightly update emails when a new episode of Giant Wednesday is launched.
Want results like these?
So, you’ve seen how we do it — and you know what we’re capable of. If your brand or business could benefit from results like these, get in touch with us today to unleash your potential.
Follow Us
Sign Up For More
Stay up to date with the latest happenings, learnings, events & more with our GIANT Newsletters.
Contact Us
Top Floor, The Civic Centre, Castle Hill Avenue, Folkestone CT20 2QY.
Copyright © 2022 Sleeping Giant Media. All Rights Reserved.